
Kcell Virtual PBX (Kazakhstan) is a convenient and simple way to efficiently organize call handling in your company. The virtual PBX will play a voice greeting instead of ring tones, route an incoming call to an available employee, provide a detailed summary of incoming, outgoing, and missed calls, and much more.
If you are not yet a Kcell Virtual PBX client, submit a connection request at vats.kcell.kz.
Altegio integration capabilities with Kcell Virtual PBX #
With the integration, you can:
- Add a new client to your database from the pop-up window and schedule a visit right during the call;
- When receiving an incoming call, greet a regular client by name, schedule a new visit, or edit an existing appointment without wasting time searching for the contact in the database, and also open the client card directly from the pop-up window to view their call and visit history;
- Listen to recordings of incoming and outgoing calls in the Altegio interface.
Virtual PBX plans #
Connection is free. You only pay for the features you need.
Integration setup instructions #
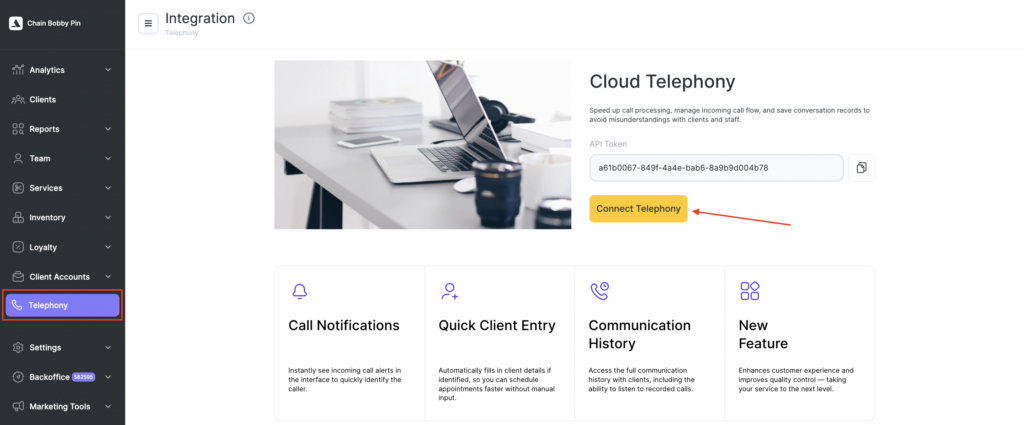
- In your Altegio personal account, go to Telephony and copy the token.
- Open the Kcell Virtual PBX interface. In Settings, select CRM integration. Among the available integrations, find the Altegio widget and click Connect.
- In the window that opens, paste the copied token and click Connect. The integration setup on the Virtual PBX side is now complete.
- Go back to Altegio. The integration status will change to Connected, and additional sections will appear in the Telephony menu: Integration, Routing, Routes, and Calls.
- Go to Routes. Change the settings of the basic route: by default, Route for all users is used and call history is saved in the chain call history. Click Edit.
- Give the route a simple and clear name, for example Astana location or Sales department. Select the users and locations that will receive incoming calls. Also choose where call history will be stored:
- Chain call history — calls will be saved under Telephony > Calls; only the chain manager/owner can view the call history;
- Chain and all locations call history — calls are saved not only under Telephony, but also under Reports > Call Logs; the call history is available both to the chain manager/owner and location managers;
- Chain and notified locations call history — calls are saved both under Telephony and under Reports, where the history will be available only for the location selected in this route.
- Click Save.
- Now link the created route to the number that should receive calls. To do this, go to Routing and click Add rule.
- In the fields that appear, specify:
- Routing type. If calls should come to the company’s main number, select Phone. If the call should be received by a specific employee or department, select SIP;
- Identifier. If you selected Phone in the Type field, enter the phone number (without a plus sign or spaces). If the routing type is SIP, enter the employee’s or department’s three-digit extension number;
- Call route.
- Click Save.
You can create any number of routes and rules for your numbers, depending on how they work.
Done. Now you can use all the features of the Altegio integration with Kcell Virtual PBX.
Phone: 9099, +7 727 258 7021

